Trending

A gluten-free cake can look flawless on the cooling rack and then collapse under a fork. Or it can slice cleanly and taste like a rubber eraser. Neither problem is a mystery. Without gluten, the job of holding crumbs together and trapping air moves to flours, starches, binders, and water — and those need balancing on purpose rather than by luck.
What follows is the list to run through before the mixer starts, and again when a bake goes wrong. It needs nothing more exotic than a kitchen scale and an instant-read thermometer.
Single flours rarely bake like wheat. Brown rice flour alone is sandy and dry. Almond flour alone is rich but fragile. Coconut flour alone drinks liquid like a sponge. A blend works because each flour covers another's weak spot.
A reliable homemade ratio is roughly 60 percent whole-grain or light flours to 40 percent starches. For example: 400 grams brown rice flour, 100 grams potato starch, 100 grams tapioca starch. Swap sorghum, millet, or certified gluten-free oat flour for part of the rice flour when you want more flavor, but keep the starch portion in place — it is what keeps the crumb tender instead of heavy. Use potato starch, not potato flour, which behaves very differently.
Weigh your flour. A cup of gluten-free blend can weigh anywhere from about 120 to 140 grams depending on the brand and how it was packed, and that swing is enough to ruin a recipe. If you only have cups, spoon the flour in and level it without tapping the counter.
Read the bag before you add anything. Many commercial blends already include xanthan gum, guar gum, or psyllium. If yours does, skip the gum the recipe calls for unless that recipe was written specifically for your blend.
Binders do what gluten used to do — hold the crumb together and give it a little stretch. Too little and the dessert crumbles; too much and it turns rubbery or slick. These are reasonable starting amounts per cup of flour blend.
Whisk the binder into the dry ingredients before any liquid goes in. Dropped into a wet batter, gums clump into gel pockets that never smooth out.
Gluten-free flours absorb more water than wheat flour, and they absorb it slowly. A batter that looks too loose at minute one may be exactly right at minute twenty.
Rest the batter 20 to 30 minutes before baking. Rice and oat flours soften, the gritty edge fades, and the starches hydrate fully. Add liquid in small increments, a tablespoon at a time. If a cake batter stands up stiffly like cookie dough, it needs more liquid. Coconut flour is the extreme case — it wants considerably more liquid and eggs than a wheat-based recipe — and buckwheat and teff are thirsty and heavy too.
Usually too little binder or fat, or a bake that ran long. Add 1/4 teaspoon more xanthan or psyllium per cup next time, or increase the fat by a tablespoon. Then cool completely before cutting — warm gluten-free cake tears no matter what is in it.
Too much gum is the first suspect, so halve it and try again. Starch-heavy blends do this too, as does an underbaked center. Lower the oven by 25°F (about 15°C) and bake longer rather than hotter. If the middle reads around 200°F (93°C) on a thermometer, it is set. Resist slicing until the dessert is fully cool; the crumb firms as it cools.
Coarse rice flour is the usual cause — look for "superfine" on the label, or pulse the flour in a food processor for 30 seconds. Bean flours such as garbanzo and fava taste chalky in light desserts; save them for brownies and spice cakes, or leave them out. Resting the batter helps here more than any other single step.
Check the leavening first, since baking powder and soda lose strength over time. Then look at the blend: too much heavy flour, or too much liquid. Mix just until combined, because overmixing after the batter rests knocks out trapped air. Room-temperature eggs and dairy emulsify better and rise higher.
Gluten-free batters often brown on the outside before the center sets, since there is no gluten network and usually more sugar and liquid in the mix. Drop the oven temperature about 25°F from a wheat version, add 5 to 10 minutes of bake time, and rotate the pan halfway through.
Use an instant-read thermometer for anything thick. Cakes are generally done near 200°F (93°C) in the center, and loaves a touch higher. A browned top tells you very little about the middle. Then cool 10 to 15 minutes in the pan and turn out onto a rack. Slicing early is the most common cause of a gummy crumb, and the easiest one to avoid.
Every brand of flour and every gum behaves a little differently, and no checklist can predict your kitchen exactly. Write down
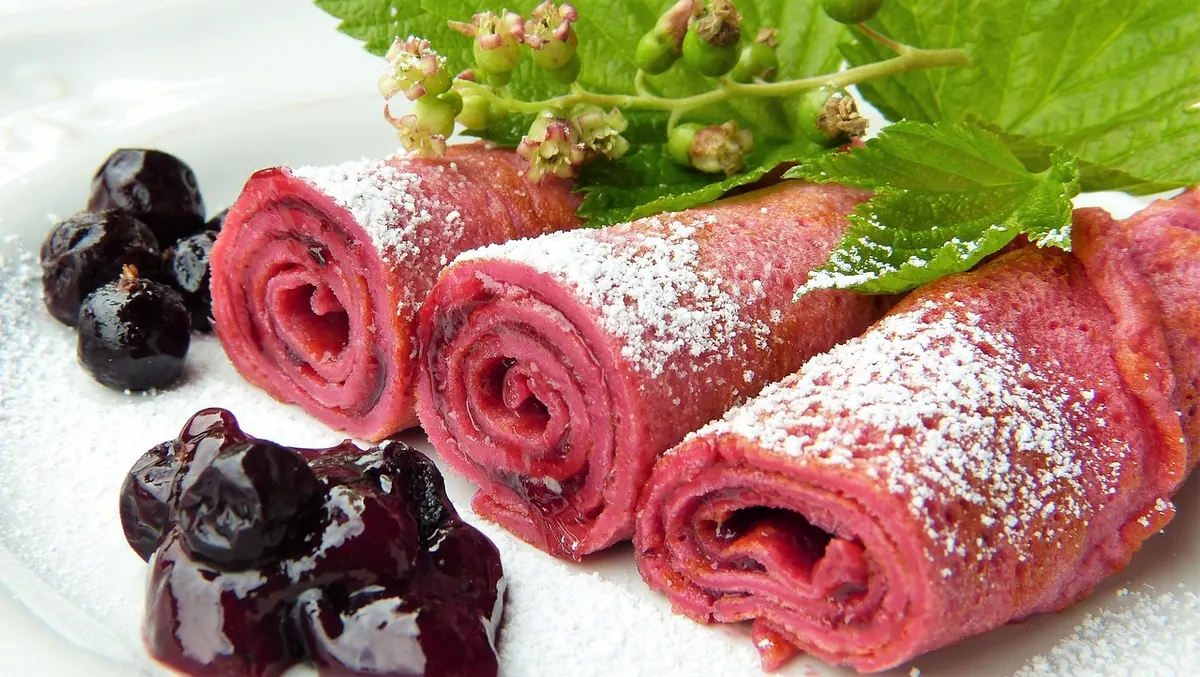
Photo: silviarita / Pixabay